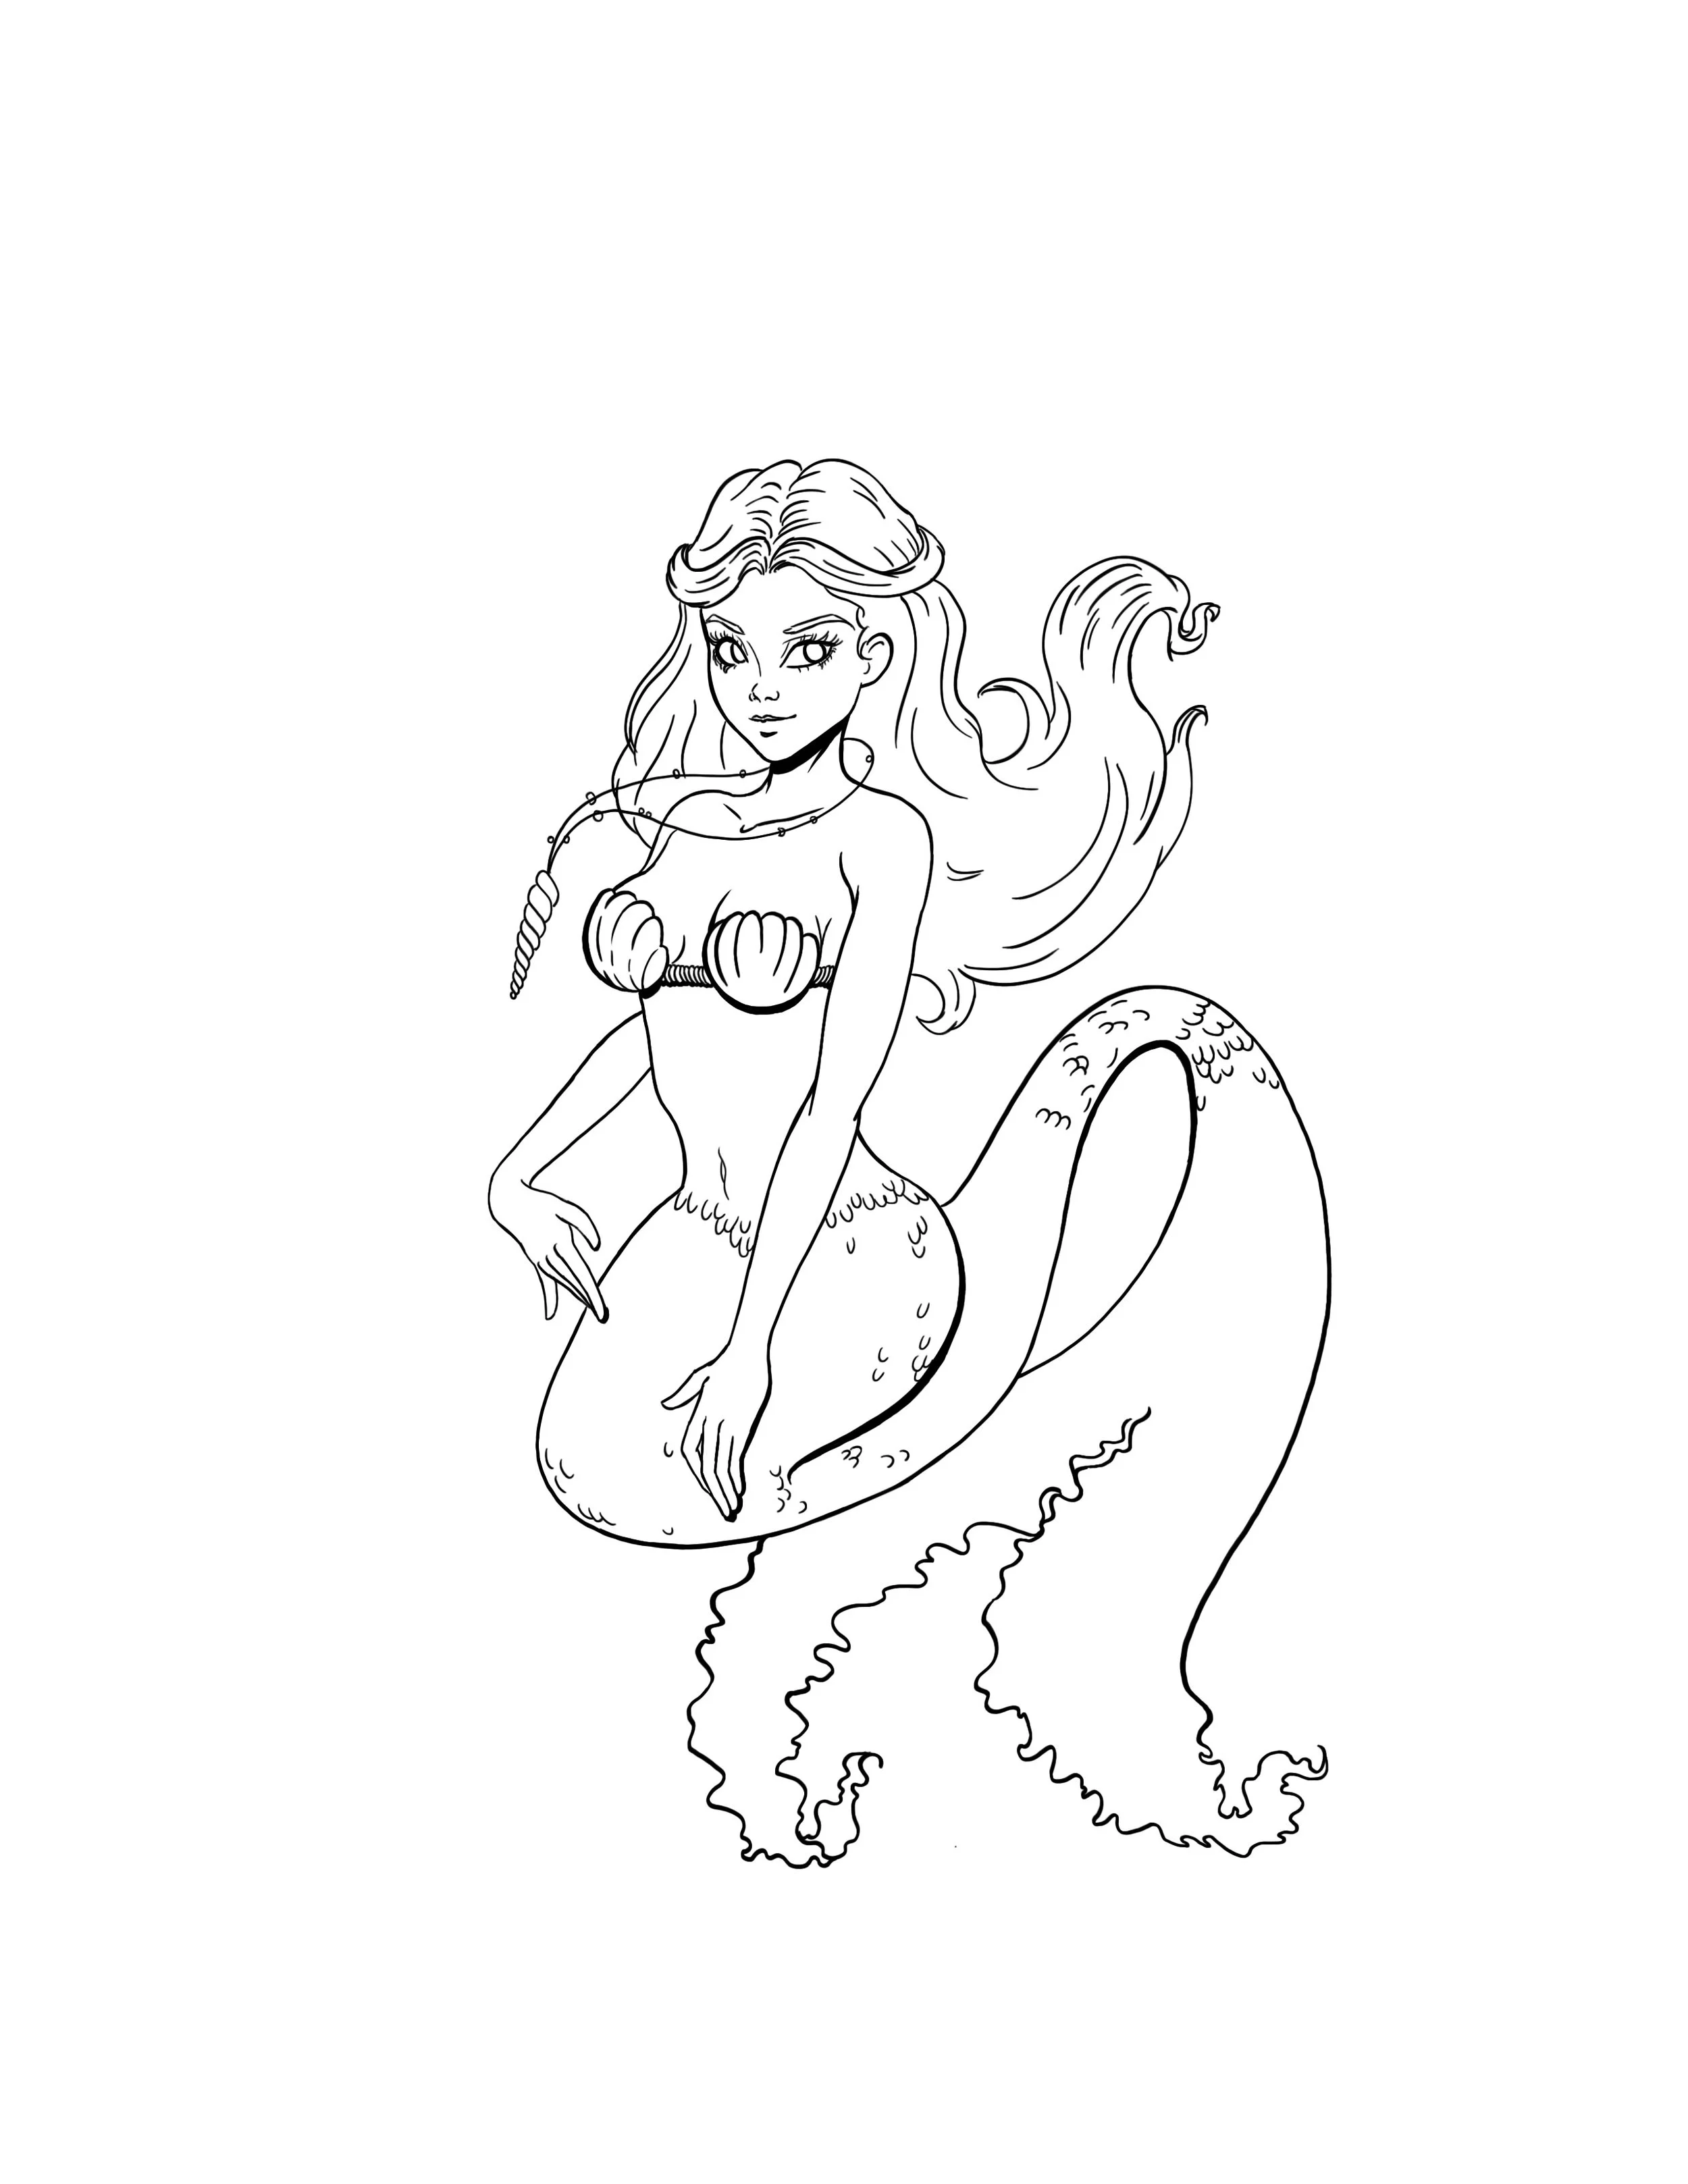
For this piece I started with a pencil sketch that I scanned in using my Epson Perfection V39. I scan in my documents at 300 dpi or higher. From there I uploaded it to a photoshop document and changed any of the anatomy errors made.

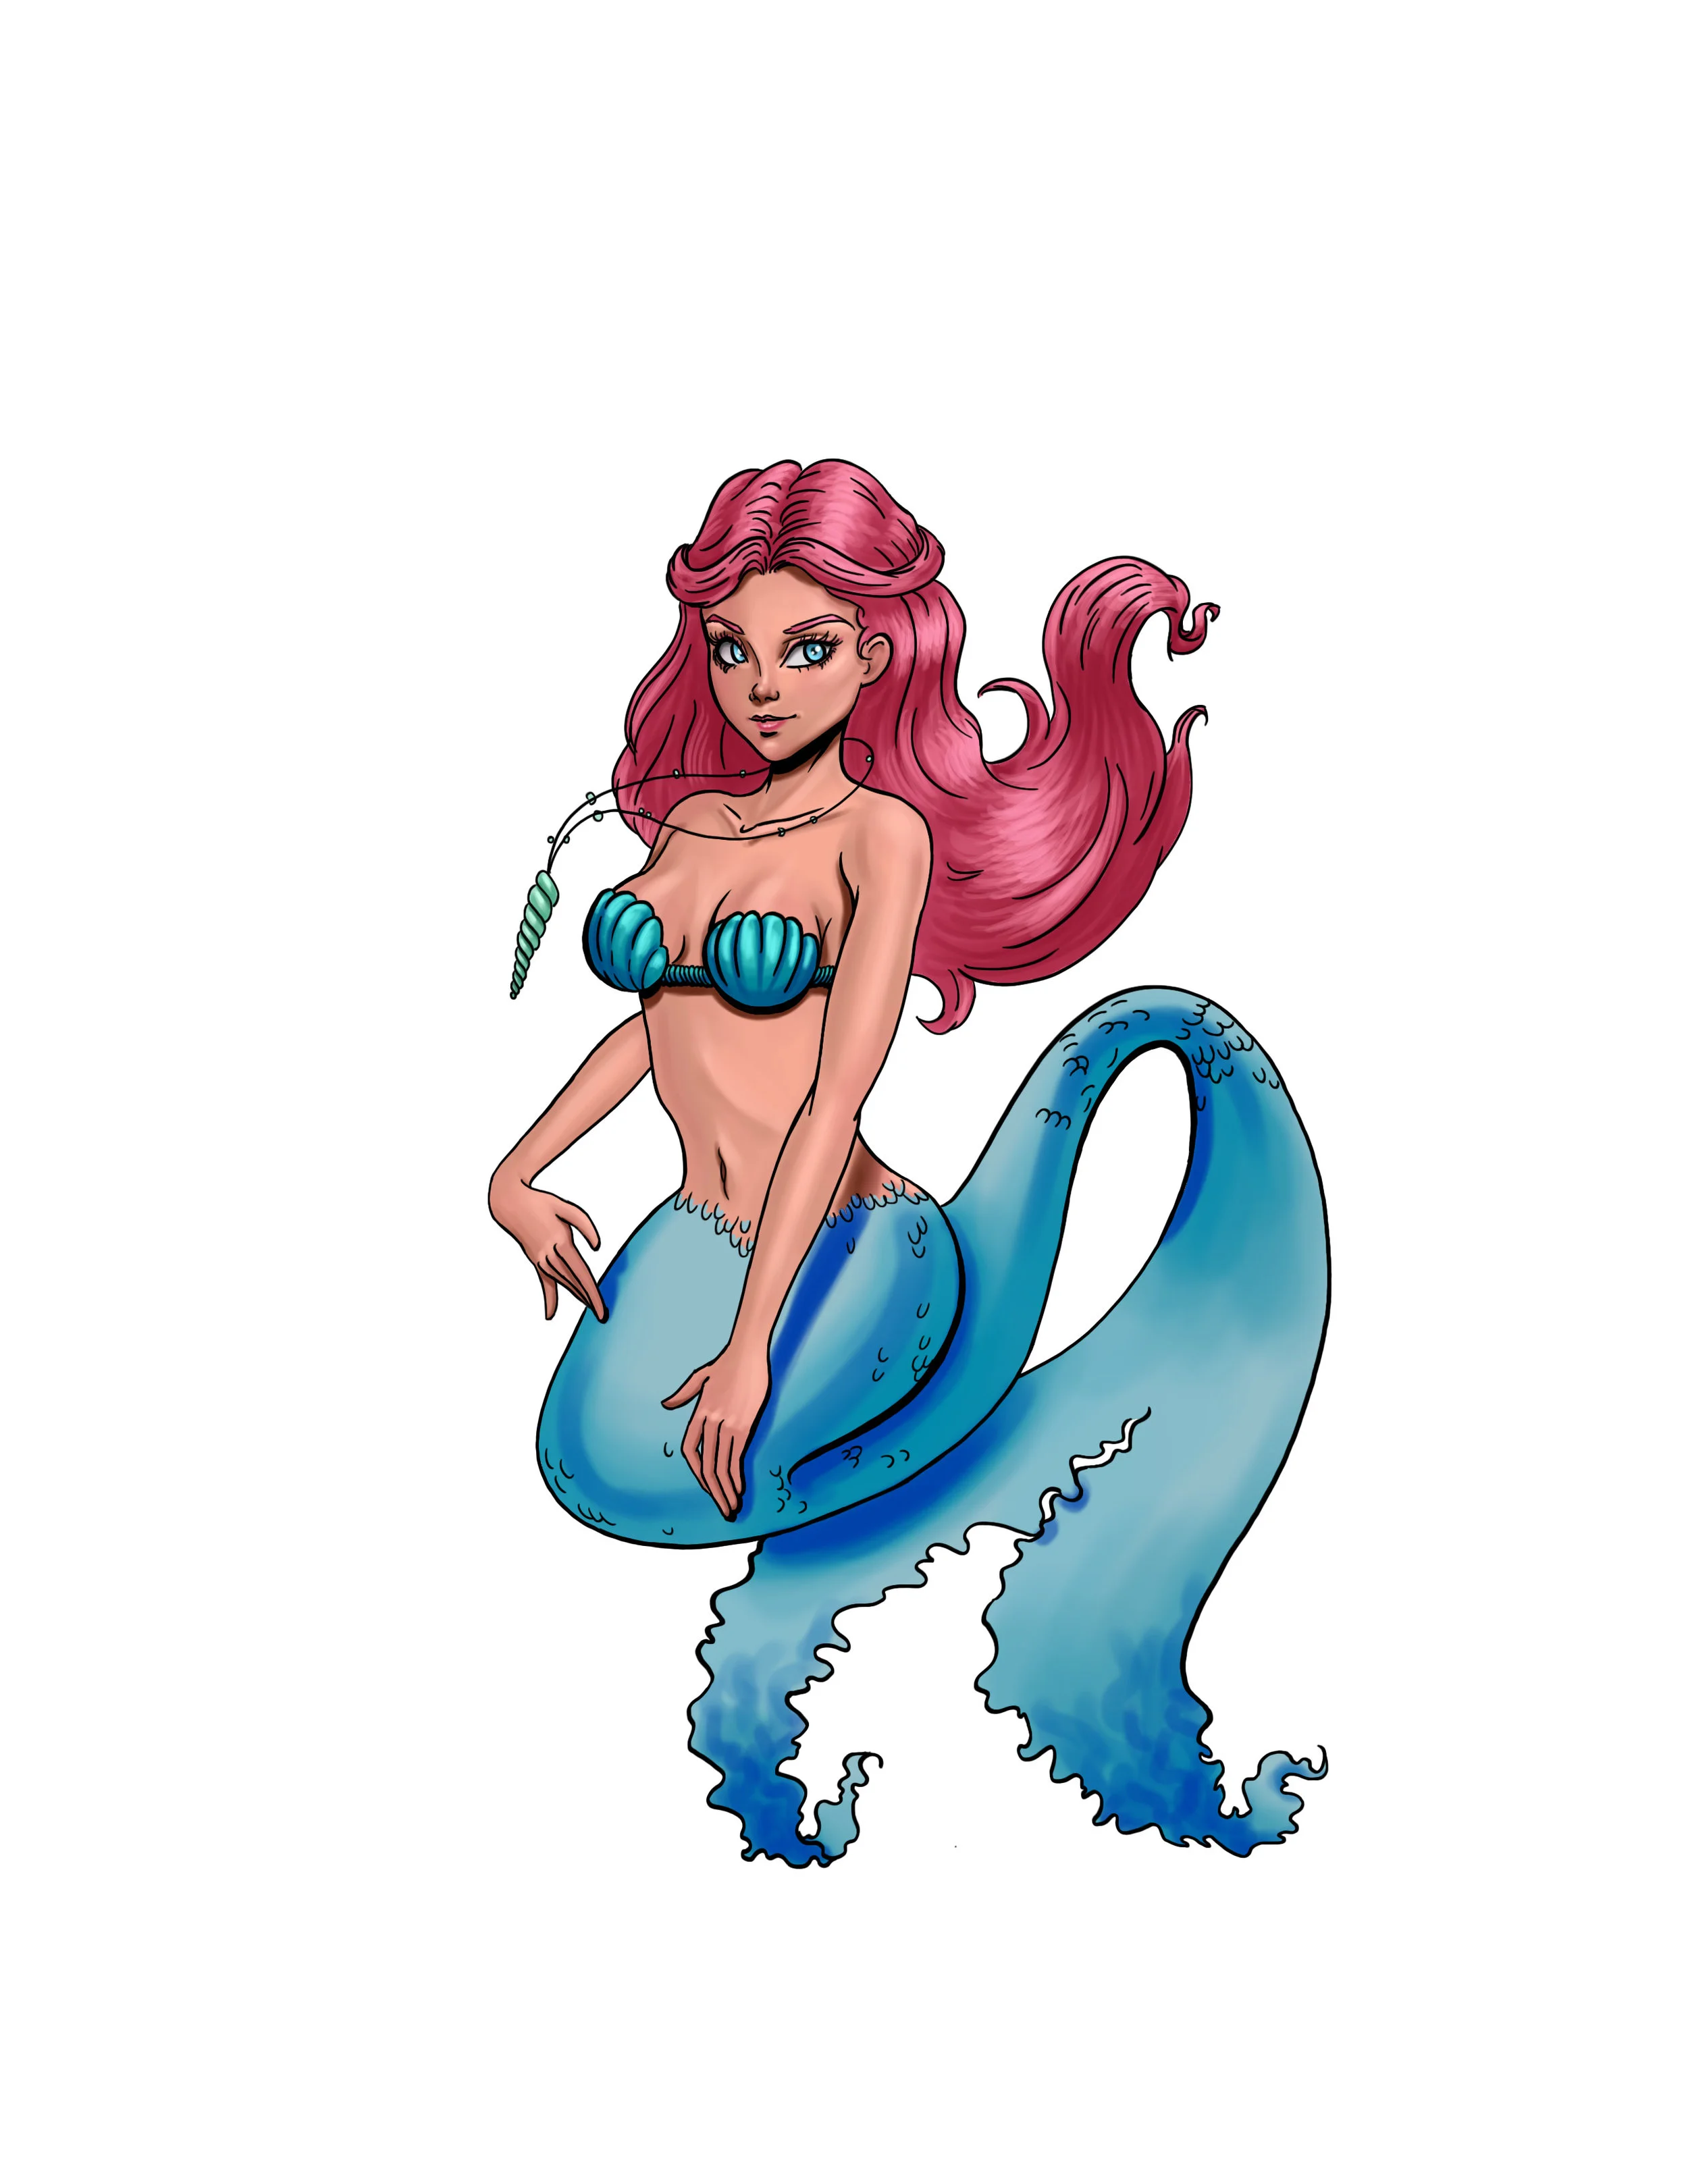
From here I color in the whole ink using a flesh tone. I use a hard and round brush and outside and make sure it covers the whole character without going past the black lines. Then, this is what I do with every piece, I select the skin tone using the magic wand tool, make sure you skin tone is on a different layer than the ink, and below the ink layer. After I've selected it I go to the select tab, select>modify>contract and then contract by 2 pixels. Then I start a new layer and I can't go outside the lines of the flesh tone so I can shade and color without worry.

I repeat the same process as above with the hair, clothing, accessories and tail. I make sure my shadows are the bottom layers, the warmth or "blush" the mid and highlights and details on top.
Next I made a layer below the mermaid and added the water. I started with a regular blue and added the indigo for depth and the white highlight and streaks of light coming from above. The bubbles I then made the top most layer, even above the ink. That was it for this one.
